Planning / 5 min read
The party timeline that leaves room to enjoy it
Choose the guest count, spending limit and event format first. Make one list with an owner for every job, and finish the main styling before the event day. The sample timeline below is an editorial starting point; compress or extend it around your venue and supplier lead times.

Four weeks out: decide what the party is
Write one sentence: “An afternoon birthday for twelve, with lunch and one shared activity.” That sentence is a filter. A beautiful idea that changes the meal, guest count and setup time may belong at a different event. Confirm the date with the person being celebrated, decide where it will happen and set a total spending ceiling before browsing decorative extras.
Send practical invitations with the start and finish time, location, RSVP method and relevant access details. Ask guests to share dietary or access needs privately. Avoid promising a complex format until the venue and helpers are confirmed. If personalized goods need longer production or shipping, start earlier than this sample schedule.
Two weeks out: turn inspiration into quantities
Choose a theme and identify its few defining details. Then list what you already own, what you can borrow and what still needs buying. Name quantities and pack sizes. “Twelve guests” is useful; “a few pretty plates” is not. Include serving pieces, waste bags and cleaning supplies so they do not become a separate last-minute trip.
For food planning, the EPA recommends checking existing supplies and making a list with quantities. Apply that narrow principle here: confirm the menu, inspect the pantry and shop against a written count. This guide does not prescribe portions; use the menu and your caterer or supplier to work those out.
One week out: rehearse the awkward parts
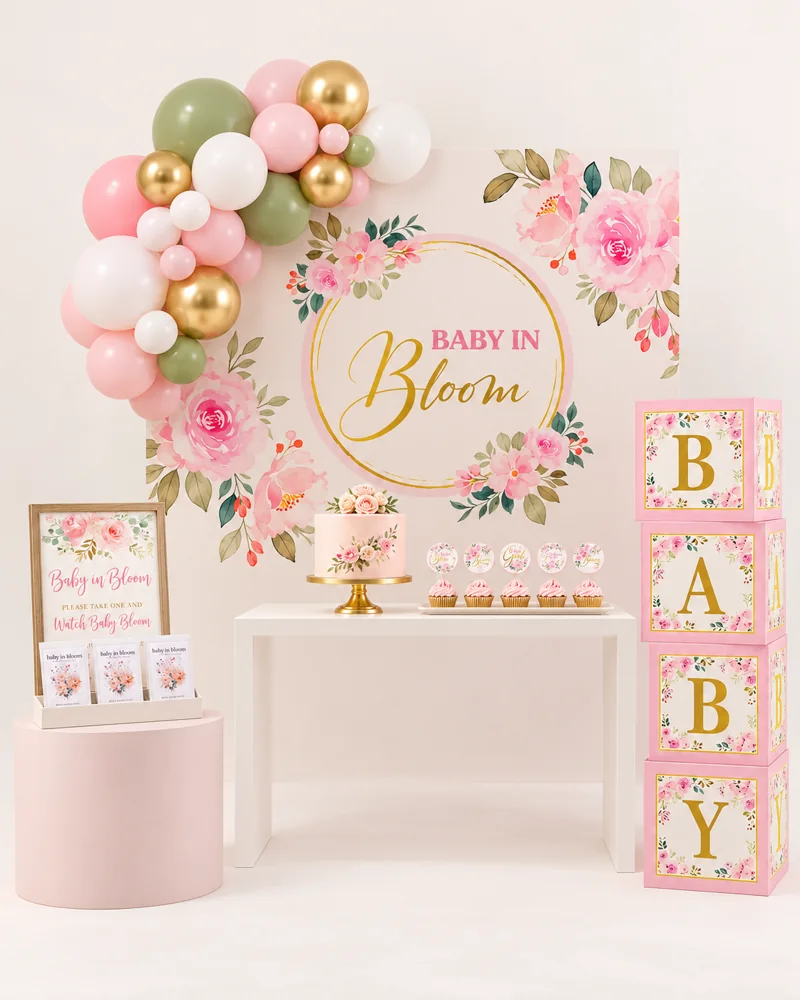
Put the cake stand on the actual table. Check that the backdrop fits the intended space. Print a single sample before printing all the stationery. Read assembly instructions while there is still time to change a plan. Take a quick phone photo of the finished display and share it with whoever is helping.
Assign specific jobs: “Please collect the cake at eleven” is easier to act on than “help with food.” Give each helper an arrival time and the information needed to finish their task. Keep a single shared checklist or message thread so changes do not live in four different conversations.
The day before: stop inventing
Set a cutoff for new ideas. After it, buy only missing essentials. Prepare the parts that can be completed appropriately in advance, label serving dishes and place nonperishable decorations. Confirm deliveries and guest numbers. If the party is outdoors, review your weather process and fallback; keep monitoring official guidance on the day.
Pack three working groups: arrival items, serving items and activity items. They can be boxes, trays or sections of a cupboard. Put instructions with anything another person will use. A labeled box of game materials saves repeated questions when you are greeting guests.
On the day: protect the welcome
Leave a deliberate gap between the end of setup and the first arrival. In this sample plan, reserve about thirty minutes to change clothes, check the entrance and stop working. That is an editorial estimate, not a rule; your setup may need longer. Do not schedule a fiddly new DIY in that gap.
During the party, use a short cue list rather than a minute-by-minute script: welcome, food, shared moment, dessert, goodbye. Afterwards, ask helpers to complete named reset jobs. Save what worked—guest count, useful purchases and realistic setup time—so the next celebration starts with experience rather than another blank page.
Your questions, answered.
What if I only have a week to plan?
Keep the same decision order and simplify the event. Confirm people, place and food first; use available items, skip bespoke orders and choose one easy activity.
What should I delegate first?
Delegate a complete task with a clear finish point, such as collection, drinks setup or returning borrowed items. Share the timing and necessary details so the helper can work independently.
How do I stop adding more decorations?
Choose the theme’s defining details, photograph a small test setup, then set a shopping cutoff. Additions after that point should solve a practical gap, not create a new project.
Sources & editorial notes
Planning suggestions and example timelines are Event Fairy editorial guidance. Sources below support the specific background points; they do not validate every suggested activity or budget.
- US EPA: Preventing Wasted Food At Home
Primary practical guidance: inventory existing food, plan purchases with quantities, buy what will be used. It does not supply or endorse the example event budgets and schedules.
One small next step.
Choose one decision from this guide and add it to your plan. You do not need to do everything today.
Open the planning desk