Practical planning / 3 min read
A simple party table setting that makes sense
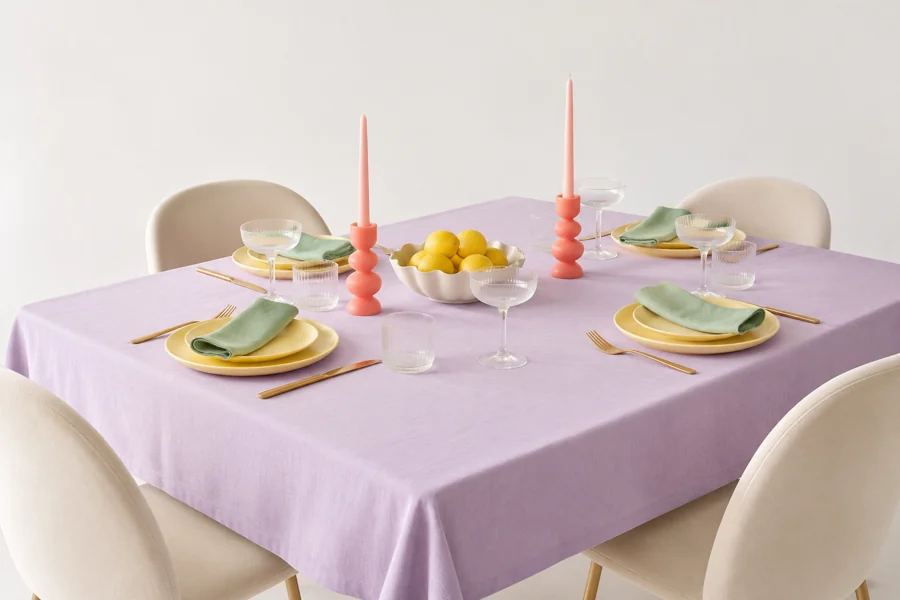
Start with the person sitting down: put the fork on their left, the knife on their right with its blade facing the plate, and the drinking glass above the knife. Add only the utensils the menu needs, then leave clear room for hands and serving.
Build one setting before repeating it
Place one chair, plate, napkin, fork, knife and glass. Sit down and check reach and elbow space. Move the plate to align with the chair, rather than centering it on a decorative pattern in the tablecloth.
For dessert-only hosting, a small plate and the appropriate fork or spoon may be enough. You do not need to buy full dinner settings for cake. For a buffet, it may be easier to keep plates and cutlery at the serving point and leave glasses at seats.
Orient each setting to its own guest
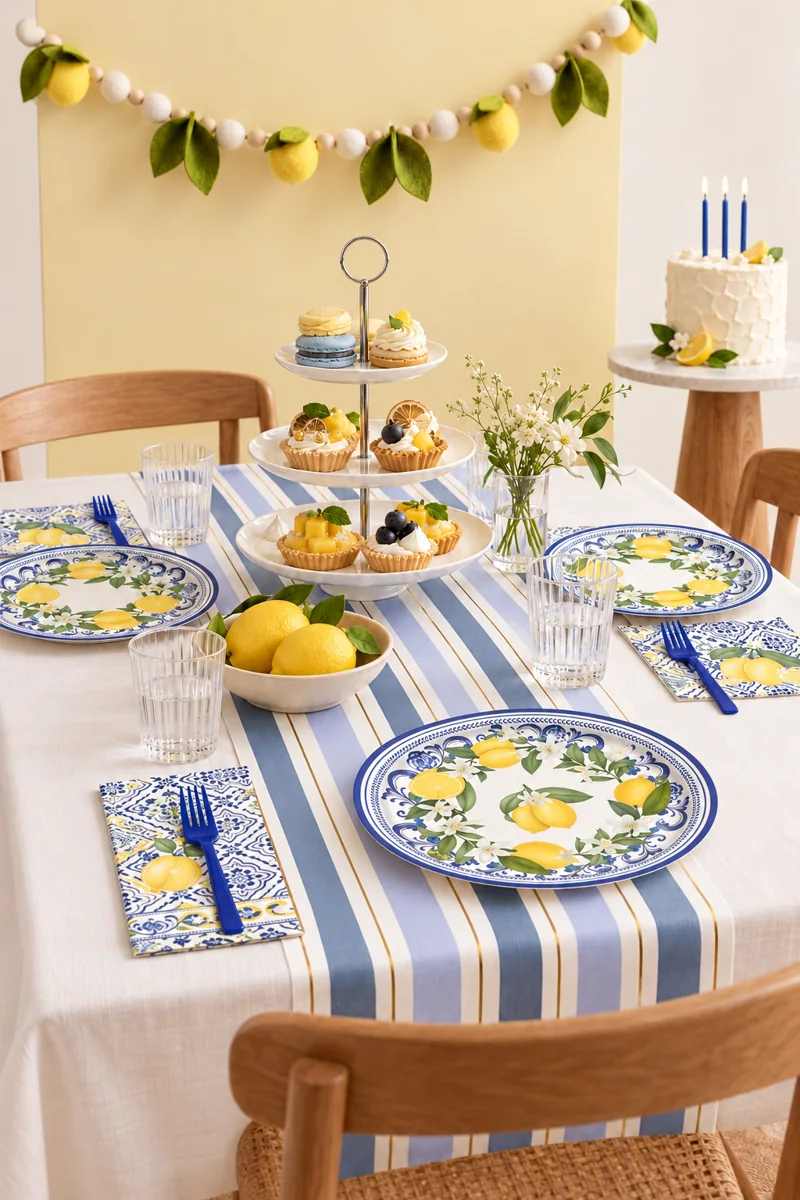
On opposite sides of a table, the utensils will face opposite directions in a photograph. Judge left and right from the seated guest’s view. Fork tines and knife blades point toward the center of the table; the handles face the guest.
Keep the knife’s cutting edge toward the plate. Place the napkin under the fork, to the left, or neatly on the plate. Do not stack multiple unused utensils just to make the setting look fuller.
Keep a useful middle space
Try the serving dishes on the table before placing the flowers. Leave room to put down a bowl without moving a candle or glass. A small arrangement, one bowl of fruit or a single decorative object can give the table a focal point.
Check that every stand sits flat, that overhead decorations are secure and that tall pieces do not block faces. For the least complicated table, use unlit decorative tapers or suitable battery lights instead of arranging open flames among paper details.
A practical setup for 12
| Serving plan | At each seat | Shared setup |
|---|---|---|
| Cake and drinks | Small plate, fork or spoon, cup | Cake stand and one clear serving area |
| Seated meal | Plate, menu-appropriate cutlery, glass, napkin | Serving dishes within easy reach |
| Buffet | Glass and a place for the plate | Plates at the beginning; cutlery after food |
Carry the theme through two or three details
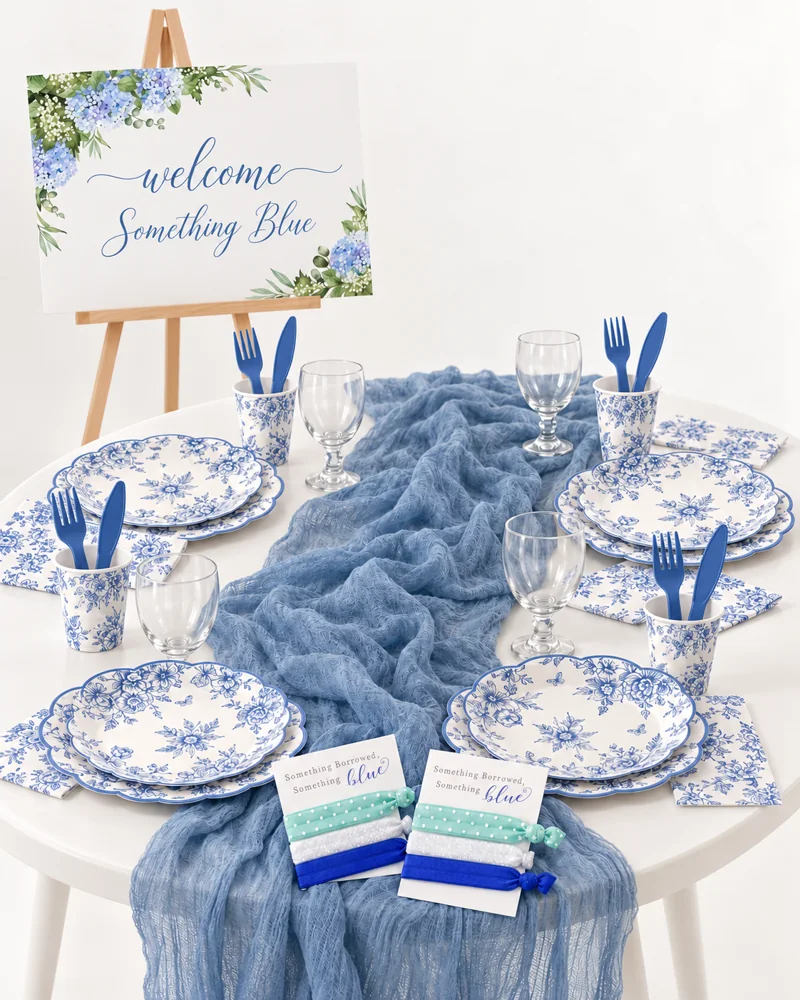
Repeat a color in the napkin and one centerpiece, or let a patterned plate provide the main motif. Plain existing glassware usually gives the print more space. Treat the inspiration photograph as a styling direction, not a demand to buy every object.
Take a quick photo after laying the first setting. Check for an upside-down print, a fork on the wrong side, glasses at the edge or props balanced without support. Fix the practical layout first, then repeat it around the table.
Your questions, answered.
Where does the fork go?
To the seated guest’s left of the plate, with the handle toward the guest. The knife goes to the right, cutting edge toward the plate.
Do I need a charger plate?
No. It is an optional styling layer. A single suitable plate is enough, and removing the extra layer often makes a small table easier to use.
Can paper plates still look considered?
Yes. Choose a coherent pattern, use a simple napkin and leave space around the place settings. Check that the plate is suitable for the food you plan to serve.
Sources & editorial notes
Planning suggestions and example timelines are Event Fairy editorial guidance. Sources below support the specific background points; they do not validate every suggested activity or budget.
One small next step.
Choose one decision from this guide and add it to your plan. You do not need to do everything today.
Open the planning desk